Test Fax Page: Free Template and Step-by-Step Checks
You've got a form ready to send, a fax number from the recipient, and a deadline getting closer. The sending screen says the file is ready, but that doesn't tell you whether the receiving office will get readable pages or route them to the right person.
A test fax page gives you something concrete to check before sending the document. Treat it as a layered check of the connection, the reproduced page, and the recipient's handling, not just a successful status on a screen.
A Ready-to-Use Test Fax Page Template
Copy this layout into Microsoft Word or Google Docs. Keep it to a single sheet, use synthetic content, and print at 100 percent scale if you're testing a physical machine. For browser-based faxing, save the finished page as a PDF.
Copyable page layout
TEST FAX PAGE
SYNTHETIC DATA ONLY. NOT A REAL RECORD.
Test ID: TP-0412-A
Sender fax number: [Your return fax number]
Recipient fax number: [Confirmed destination number]
Page: 1 of 1, excluding any service-generated cover
Send date and time: [Local date, time, and time zone]Readability samples
Set this line in 10-point type: Sample referral text for fax testing only.
Set this line in 12-point type: Sample referral text for fax testing only.
Set this line in 14-point type: Sample referral text for fax testing only.Image checks
Insert a fine-line table grid.
Insert a solid black rectangle.
Insert four adjacent bands: white, light grey, dark grey, black.
Place outline boxes approximately 0.5 inch inside each page edge.Recipient instruction
Compare this page with the original. Report missing edges, unreadable text, merged lines, or missing content, then return the received copy through the agreed channel.
The formatting instructions aren't calibration graphics themselves. Build the grid, rectangles, and edge boxes using your word processor's table and shape tools, and apply the specified font sizes before saving.
What the elements establish
Test page elements and what each one confirms
| Element | What It Confirms | Sample Entry |
|---|---|---|
| Test ID | Matches the returned page to this send | TP-0412-A |
| Sender fax number | Lets you compare the printed return information with your intended return line, not independently verify caller ID | Your return fax number |
| Recipient fax number | Lets you compare the stated destination with the delivery record, not independently prove what was dialed | The number you entered in step 3 |
| Page count | Helps identify missing document pages when compared with the received set | 1 of 1 |
| Date and time stamp | Helps associate the page with a send attempt and assess queue delay against the delivery record | Local send time and time zone |
| Fine-line grid, solid black block and grey-scale strip | Reveals resolution loss, contrast problems, and dark-area smearing | Four grey bands from white to black |
Keep a clean digital master. Reusing the same layout makes changes in output easier to spot, while a fresh Test ID distinguishes separate attempts.
Interoperability is the reason these checks matter. The ITU's fax history describes approval of the digital Group 3 standard in 1980, enabling compressed document transmission across compatible equipment. Compatibility lets machines communicate, but it doesn't guarantee that your particular document will reproduce well.
Testing Sensitive Documents Without Real Data
Test sensitive forms with synthetic data only. A genuine record isn't a better test just because it's the document you eventually need to send.
Keep the dummy document visibly separate from live paperwork.
A 2025 peer-reviewed analysis of healthcare fax use reported estimates that approximately 75% of medical institutions in the United States still relied on fax for communication and about 88% of Ontario physicians continued using fax technology to share patient information. That makes safe testing a practical workflow issue, not an exercise with obsolete equipment.
Once a fax is sent, it cannot be recalled or cancelled. A test can reach a shared tray, an unattended inbox, or the wrong desk, so exclude real names, account numbers, signatures, and case details.
Match the dummy to the work
- Healthcare: Use a referral layout marked TEST PATIENT, with a placeholder record reference and invented clinical text. For the actual paperwork involved in requesting copies of your health records, Bell Law's guide provides useful context, but keep completed requests out of the test.
- Legal: Use SAMPLE MATTER as the case reference and leave the signature line blank. Include the same small print and form fields your real document uses.
- Real estate: Create a sample offer page with an explicitly fictional property address. Preserve tables, checkboxes, and initials boxes.
- Nonprofit: Use a dummy donor form without payment details or a real donor's contact information.
Before releasing live content, confirm the destination through a trusted contact, arrange recipient availability, and agree on who handles the cover and received pages. Check legibility and completeness, then save the delivery record; our guide to protecting sensitive information adds preparation guidance.
Keep the same synthetic-data rule when following a video walkthrough.
How to Send a Test Fax in Seven Steps
Arrange the returned copy before you send. Ask the recipient to fax the received sheet back to a working return number, or use a destination you control, such as another machine. Don't assume that entering a sender number creates a receiving fax line.
If you don't have an inbound fax number, agree on another approved way for the recipient to show you the received page. A verbal confirmation that something arrived won't let you inspect the fine print or margins.
Prepare, send, and record
Open the fax form in your browser. Our sending process requires no download, installation, or account. Have the saved test document and confirmed destination ready so you aren't switching between unfinished files.
Enter your sender information. Supply your sender name and return fax number, and check the email address used for delivery confirmation. Use return details the recipient can use, rather than a voice-only number entered to fill a field.
Enter the receiver name and fax number. We accept standard North American 10-digit numbers, including formats such as (123) 456-7890, 123-456-7890, or 1234567890. Read the digits back against the recipient's confirmed number, because valid formatting doesn't establish that you've entered the correct destination.
Upload the test page as a PDF, DOC, or DOCX file. Use the saved document rather than a screenshot, which can introduce scaling and text-quality problems. Open the file before uploading to catch an accidental blank page, clipped shape, or outdated destination label.
Complete the CAPTCHA. Finish this check before attempting submission. If the form asks you to try again, resolve it rather than assuming the document has entered the sending queue.
Click Send Free Fax Now. Review the destination and attachment immediately before clicking. Avoid repeated submissions while waiting for status information, since duplicate tests make it harder to match received pages to individual attempts.
Check your email for delivery confirmation. Record the Fax ID and delivery status, then obtain the received copy through the arrangement you made with the recipient. The email and returned page serve different purposes, so keep them together.
A first fax takes less than two minutes to send through our process and requires no registration. That makes it practical to prepare and submit a test during a phone call with the recipient, but it isn't a promise that their equipment will print or return it within that time.
Use this checklist as a reminder of the different checks involved.
Practical rule: A submission acknowledgment isn't the finish line. Wait for the delivery result and inspect what the recipient actually received.
What to Check on the Returned Page
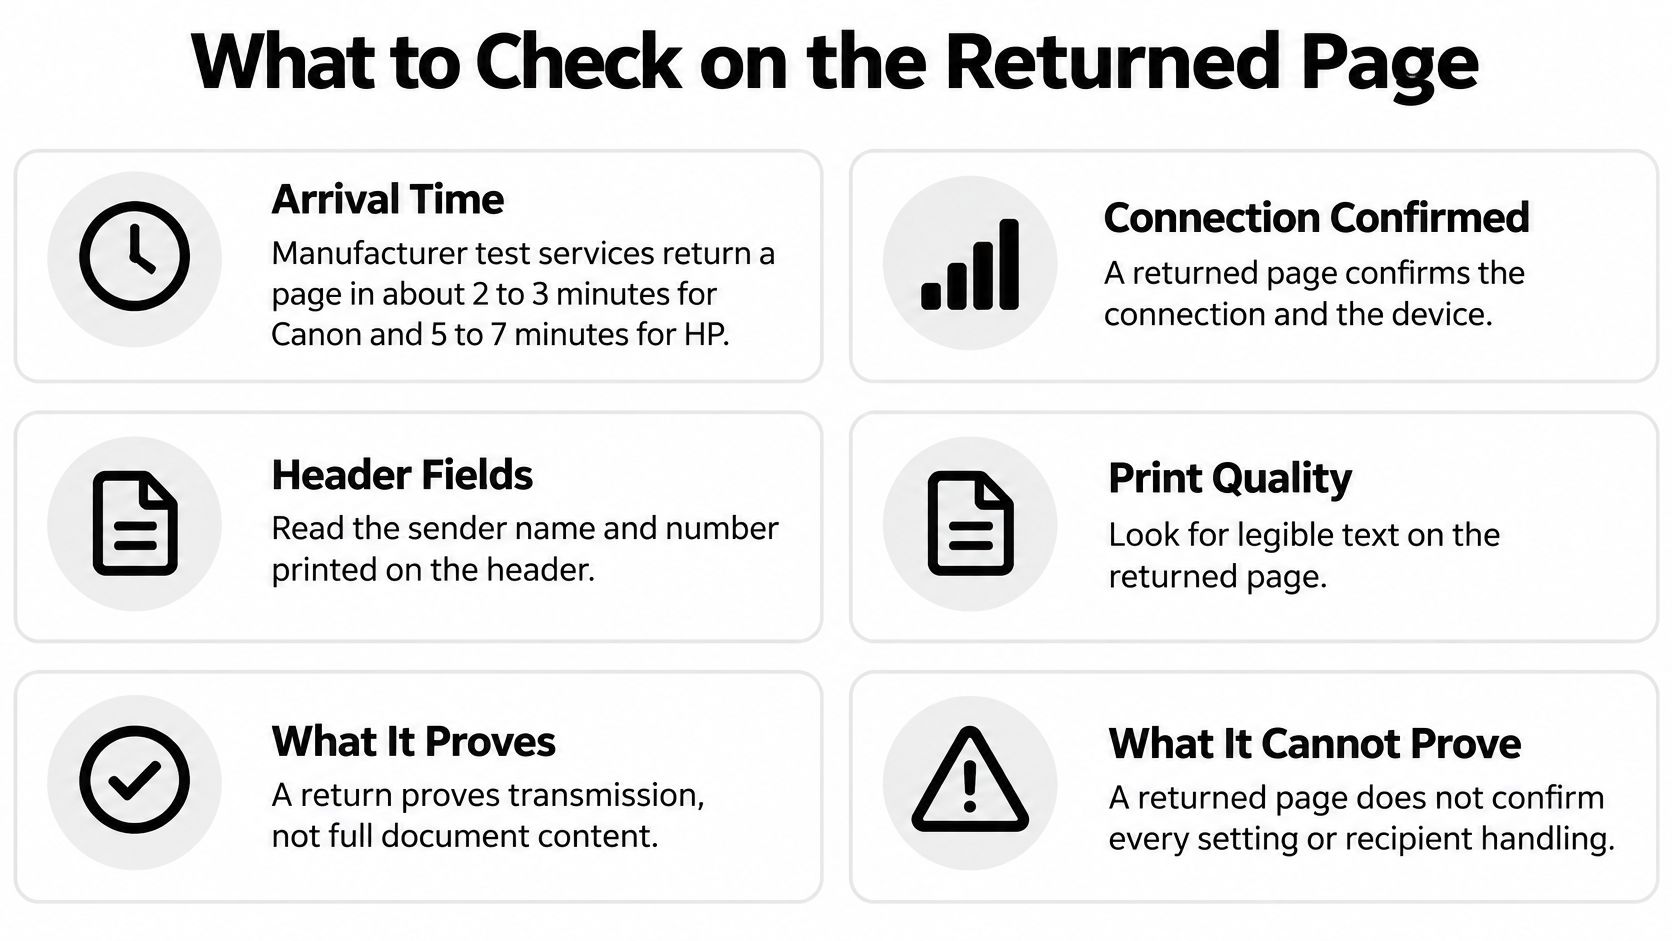
A returned page can establish basic connectivity and device operation, but it can't establish that an intended person received every page legibly. Canon's automated fax-test guidance says its return generally arrives within two to three minutes; that timing applies to its test service, not every fax destination.
The destination matters as much as the result. Testing a physical machine checks its sending and receiving path; testing from a browser checks the uploaded document's transmission path. Neither substitutes for testing the actual recipient's line and confirming their internal routing.
Compare the received sheet with the original
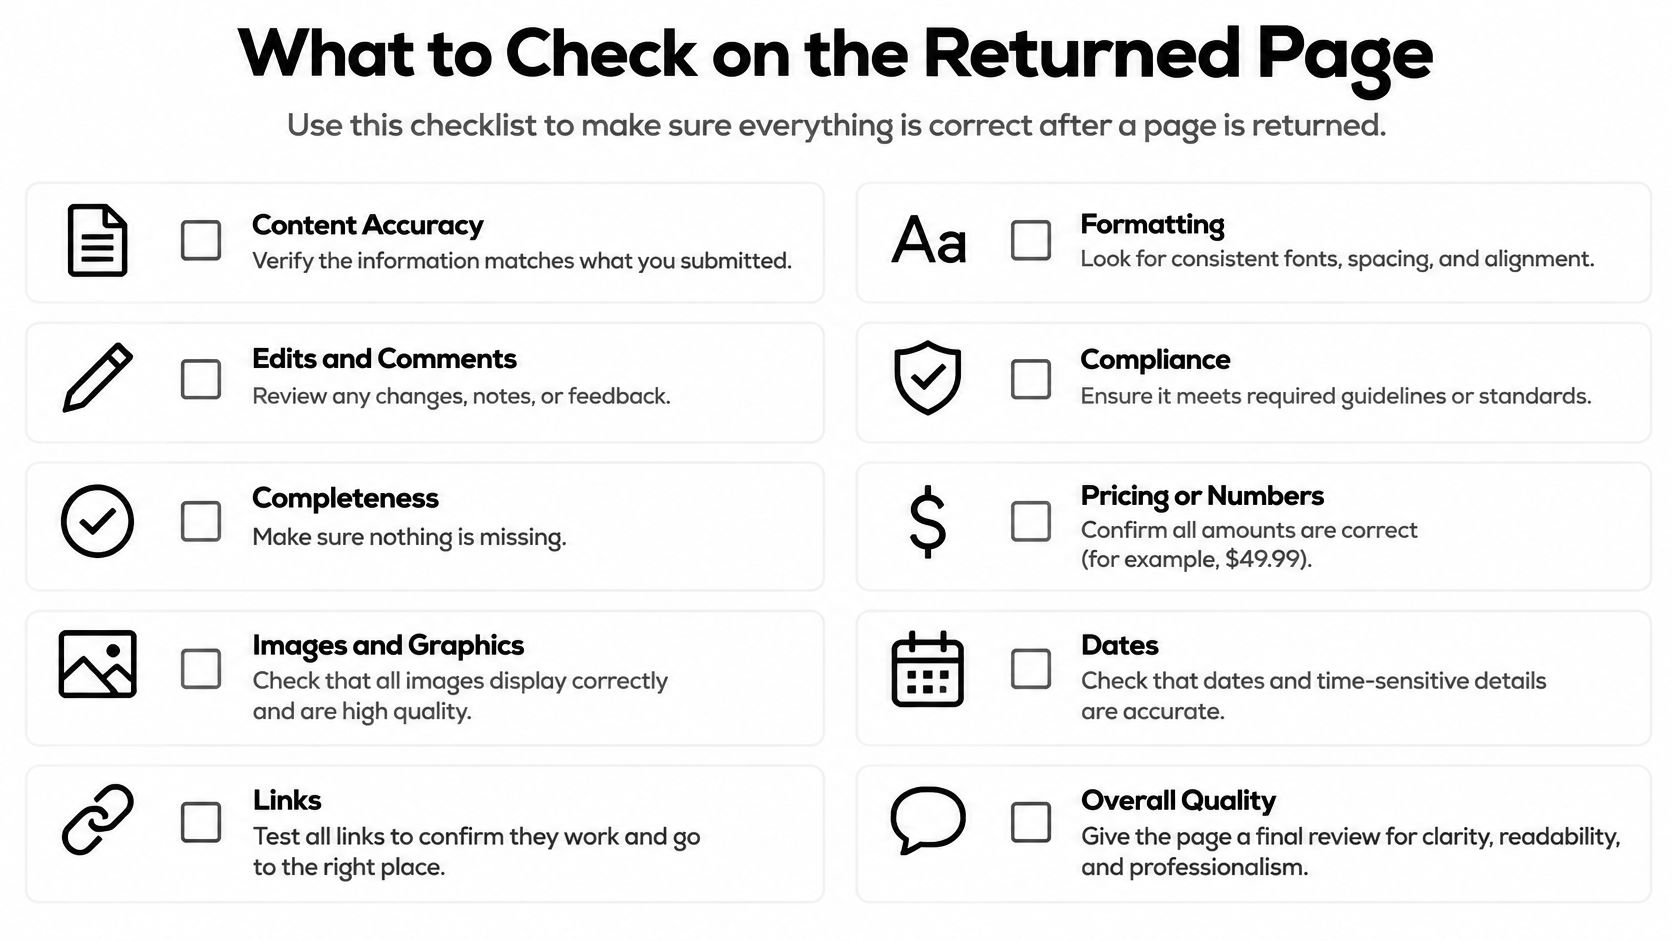
- Identity and timing: Match the Test ID and send-time entry. An older sheet from an earlier attempt can otherwise look like the current result.
- Completeness: Check the document page count and account separately for any service-generated cover. Inspect the bottom of the sheet, not just its heading.
- Small text: Read the smallest sample at normal viewing size. If you must enlarge it substantially to distinguish letters, the form's small print needs attention.
- Line separation: Confirm that grid lines remain separate and intersections haven't filled in. Merged lines can obscure checkboxes and table entries.
- Contrast: Look for distinguishable grey bands and a clean black block. Don't reject an otherwise readable fax solely because subtle shading has disappeared.
- Edges and routing fields: Inspect every edge box, then compare the printed sender and recipient numbers with the intended details.
Reconcile the delivery record
Our confirmation emails include the Fax ID, recipient information, timestamp, transmission date and time, recipient fax number, page count, and delivery status. Compare those fields with the received document rather than treating the email as proof of its visual quality.
Ask the recipient to identify the Test ID and confirm where the sheet landed. A receptionist finding it in a shared tray is a different result from the intended department receiving it through its normal workflow.
Keep four checks separate: connection, readability, recipient confirmation, and the retained delivery record.
If a check fails, correct the specific problem and repeat the test. Don't let a successful transmission status override unreadable text or uncertain handling.
Fixing Failed or Garbled Test Faxes
A fax that remains queued for more than 20 minutes may indicate a technical issue. It doesn't prove that the recipient is slow, and it doesn't identify which part of the transmission path is responsible.
Wait a few minutes and check the status again before submitting another attempt. If delivery fails, we allow a free resend using the same information and a fresh upload of the document.
Match the fix to the symptom
Test fax symptoms, likely causes and fixes
| Symptom | Likely Cause | Fix |
|---|---|---|
| Queued for more than 20 minutes | Possible technical issue, with the sending path worth checking | Wait a few minutes, check status, then resend with the same details if delivery fails |
| Top or bottom edge cut off | Text placed too close to the page edge | Move content inward and inspect the PDF preview before resending |
| Grey or smudged scan | Shaded background or light ink | Use black text on white paper with no background fill |
| Last page missing | Upload or page-count error | Re-upload the file and check the page count in the confirmation email |
| Wrong person receives it | Mistyped recipient number or incorrect routing information | Independently confirm the destination before another attempt |
| Broken lines or line noise | Phone line or recipient machine | Resend, then ask the recipient to check their machine if the defect persists |
For a physical machine, check the receiving setup before changing every transmission setting. Brother's fax troubleshooting guidance recommends completing a test fax and checking items such as ring delay and correct fax-number information.
Know when to stop resending
File corrections are under your control: remove background fills, enlarge cramped text, and export a clean PDF. Our fax image-quality guide can help distinguish a weak source document from damage introduced during transmission.
Persistent broken lines require a different response. Ask the recipient whether other incoming faxes show the same defect and whether their equipment reports an error; repeatedly uploading an unchanged file won't diagnose their receiving setup.
If a physical fax machine runs through an internet-based phone service, SnapDial cloud fax reliability provides context for discussing that setup with whoever manages the phone system. Change one setting at a time and keep the failed copy for comparison, so you can tell which adjustment helped.
Confirm the Test Fax Before the Deadline
Send the document only when the test gives you a usable result at the intended destination. A readable sheet sent to a convenient alternate number is useful for diagnosis, but it doesn't validate the office that must receive your deadline-sensitive paperwork.
Leave time for a correction and another attempt. If the recipient says their machine is unavailable or nobody can retrieve the fax, resolve that operational problem before sending confidential material.
Choose the sending option that fits
Our free option allows up to three document pages plus a required cover page, includes SendItFax branding, and permits five free faxes in a 24-hour period. Free availability resets 24 hours after the first fax, rather than automatically at midnight.
For a longer document or after using that allowance, the $1.99 priority option supports up to 25 pages plus an optional cover, has no daily limit, and removes SendItFax branding. Choose according to document length and presentation needs, not as a substitute for checking the destination.
Before releasing the file, use a final hold-or-send decision:
- Send: The received test is readable, its edges are intact, and the intended recipient confirms the correct routing.
- Hold: The number is uncertain, output is damaged, or nobody can explain where the document will land.
- Record: Save the final document, confirmation email, and Fax ID together so you can identify the exact transmission later.
For time-sensitive paperwork, call the recipient after sending and ask them to confirm the actual document, not merely that the machine rang. Our guide to confirming receipt of a fax helps you close that last gap between a delivery status and an acknowledged handoff.
SendItFax lets you upload a PDF, DOC, or DOCX and send it from your browser without creating an account or installing software. Visit SendItFax to send your test page today, inspect the received copy, and release the document only after it passes.
Related Posts
Fax How It Works: Steps, Protocols and Online Faxing
Examples of Faxes: 8 Templates and When to Use Each